

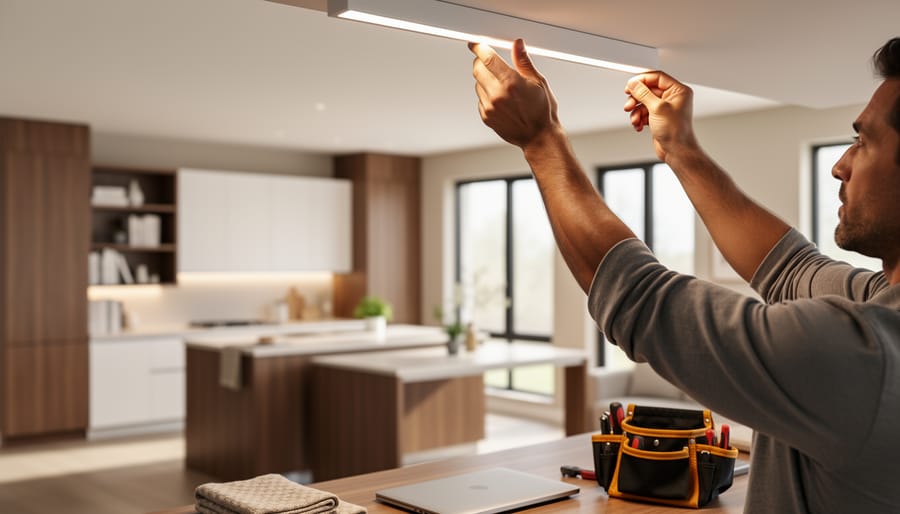
Home improvement transforms your living space into a more functional, beautiful, and valuable asset, and the best approach combines strategic planning with budget-aware execution across high-impact areas like kitchens, bathrooms, and curb appeal. Whether you’re preparing to sell or simply want to love where you live, successful projects start with understanding which upgrades deliver the strongest return on both investment and daily enjoyment.
The difference between a stressful renovation and a rewarding one comes down to three factors: prioritizing projects based on your home’s specific needs, setting a realistic budget that includes a 15-20% contingency buffer, and knowing when to DIY versus hiring professionals. A fresh coat of paint might cost under $500 and dramatically change a room’s feel, while a kitchen remodel can run $15,000 to $50,000 but recoup 60-80% at resale in many markets.
What makes home improvement particularly exciting in 2026 is the blend of traditional craftsmanship with modern efficiency. Homeowners are discovering that smart upgrades don’t always mean the most expensive choices. Sometimes the greatest impact comes from thoughtful details: upgraded lighting fixtures, better storage solutions, or energy-efficient windows that cut utility bills while boosting comfort.
This guide draws on expert recommendations and real homeowner experiences to help you identify which improvements matter most for your space, lifestyle, and budget. You’ll find room-by-room strategies, cost breakdowns across different budget tiers, and a practical framework for planning projects that actually get finished. The goal isn’t perfection but progress that makes your home work better for the way you actually live.
Why Home Improvement Starts With Organization
You can’t build on a shaky foundation, and the same applies to home improvement. Before you pick up a paintbrush or start demo work, getting your space organized sets the stage for everything that follows. When you clear clutter and assess what you actually own, you gain clarity about what your space needs to support your life, not just what looks good in a photo.
Decluttering before remodeling reveals the bones of your space. You’ll spot problem areas you’d otherwise mask with new purchases: that corner that collects stuff because there’s no proper lighting, or the cabinet that never gets used because it’s awkwardly positioned. These discoveries inform smarter renovation decisions, directing your budget toward fixes that address root causes rather than symptoms.
Organization also protects your investment during the renovation process. Cleared spaces give contractors room to work efficiently, reducing labour time and the risk of damage to your belongings. You’ll make better material choices too. When you know exactly how many shoes need storage or which kitchen tools you use daily, you can design systems that fit your reality instead of hoping a generic solution works.
The planning phase becomes dramatically easier when you’re working with a clean slate. You can accurately measure spaces, visualize new layouts, and test furniture arrangements without moving piles of stuff first. This upfront work transforms overwhelming projects into manageable steps, each building logically on the last. Start with organization, and your improvements will target genuine needs rather than covering up chaos with cosmetic fixes.
Budget-Friendly Improvements That Make the Biggest Impact
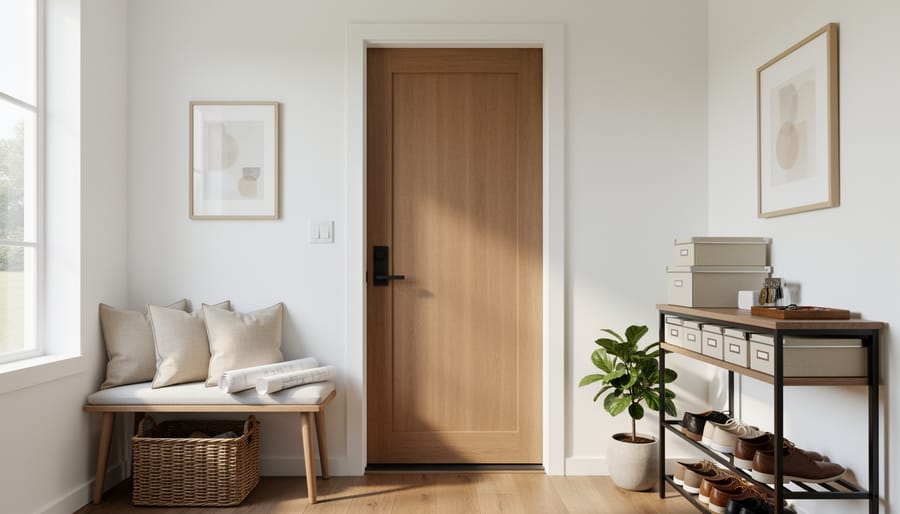
Quick Wins for Under $200
Sometimes the smallest changes create the biggest transformations. For less than the cost of a single meal out, you can dramatically shift how a room looks and feels.
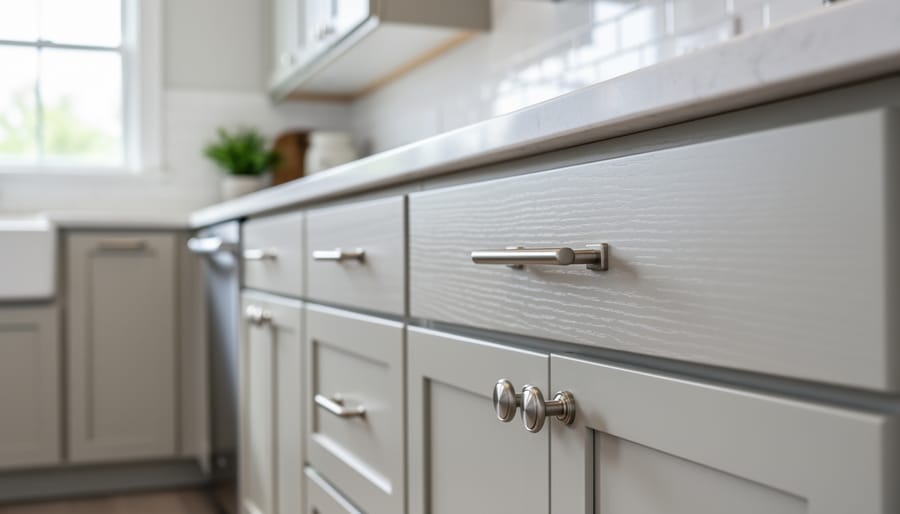
Cabinet and drawer hardware ranks as the ultimate budget project. Swapping dated brass or worn handles for modern matte black, brushed nickel, or brass options costs $40-80 for an entire kitchen. The result? An instant facelift that makes cabinets look brand new. Choose hardware that complements your existing fixtures, and install in under two hours with just a screwdriver.
A paint refresh on accent walls or trim delivers remarkable impact for minimal investment. A gallon of quality paint ($30-50) covers roughly 400 square feet. Focus on high-traffic areas like entryways or the wall behind your bed. Navy, sage green, or warm terracotta tones add sophistication without overwhelming spaces. Fresh white trim makes windows and doors pop, creating the illusion of recent renovation.
Lighting upgrades transform rooms from flat to dynamic. Replace builder-grade light fixtures with statement pieces ($60-150 each) that reflect your style. Under-cabinet LED strips ($25-40) make kitchens feel professional, while smart bulbs ($15-30 for a starter pack) let you adjust colour temperature and brightness throughout the day.
Here are the best quick-win projects by cost and impact:
- Cabinet hardware replacement: $40-80, high visual impact
- Accent wall paint: $30-50, transforms entire room feel
- Statement light fixture: $60-150, adds character and function
- Outlet and switch plate upgrades: $20-35, subtle polish throughout
- Peel-and-stick backsplash tiles: $50-100, modernizes kitchens instantly
- Faucet aerator and showerhead swap: $25-60, improves daily experience
The secret to maximizing these investments lies in consistency. Choose a finish palette (warm metals, cool metals, or mixed intentionally) and stick with it across all hardware and fixtures. This cohesion creates a designer look that belies the modest budget behind it.
Mid-Range Projects Worth the Investment
When you’re ready to invest a bit more in your home, these mid-range projects deliver returns that go far beyond their price tags. They’re the sweet spot where affordability meets transformation.
Custom closet systems ($600-$1,500) completely change how your bedroom and storage areas function. Unlike temporary solutions, professionally designed systems with adjustable shelving, built-in drawers, and specialized compartments grow with your needs. The difference shows up daily when you’re getting dressed or putting away laundry. Most homeowners notice they can fit 40% more in the same footprint.
Kitchen backsplashes ($800-$2,000 installed) protect your walls while creating a stunning focal point. Subway tile remains timeless and budget-friendly, while patterned ceramics or natural stone add personality. This project takes just a weekend for experienced DIYers, though professional installation ensures clean cuts around outlets and perfect grout lines.
High-quality light fixtures ($500-$1,200 total for multiple rooms) immediately elevate spaces that previously felt flat or builder-grade. Swapping dated fixtures in your entry, dining room, and primary bedroom creates cohesive style throughout your home. Choose finishes that complement your existing hardware for a pulled-together look.
Smart thermostats and upgraded HVAC controls ($750-$1,500) pay for themselves through energy savings while improving comfort. Programmable systems learn your schedule and preferences, maintaining ideal temperatures without constant adjustment.
Luxury vinyl plank flooring ($1,200-$2,000 for an average bedroom or bathroom) offers waterproof durability with hardwood appearance. Installation is manageable for confident DIYers, and the result withstands everything from spills to pet traffic while looking expensive.
Each project combines immediate visual impact with practical benefits that compound over years of use.
Room-by-Room Home Improvement Priorities
Kitchen: Function Meets Style
The kitchen demands the most careful balance of form and function in any home. Start by auditing your cabinet storage: pull everything out, discard duplicates, and group items by use frequency. Store everyday dishes at eye level, special occasion pieces higher up, and heavy pots in lower cabinets near the stove.
Install pull-out shelves in base cabinets to eliminate dead space and make back items accessible without crawling. A $40 lazy Susan transforms corner cabinets from black holes into usable storage. Add drawer dividers for utensils and tools, even simple bamboo organizers prevent the jumbled mess that wastes time during meal prep.
Consider replacing cabinet doors with open shelving on one or two uppers. This creates visual breathing room while keeping frequently-used items within easy reach. Paint existing cabinets rather than replacing them; a fresh color and new hardware deliver dramatic results for under $300.
The work triangle principle still matters. Your sink, stove, and refrigerator should form a compact triangle with no major obstructions. If your layout forces constant backtracking, add a rolling cart as a mobile prep station between zones.
Under-cabinet lighting makes counters more functional while adding warmth. LED strips cost $25-50 and install without hardwiring. Finally, maximize vertical space with ceiling-mounted pot racks or wall-mounted magnetic knife strips that free up precious drawer and counter real estate.
Bathroom: Small Space, Big Impact
Bathrooms punch above their weight when it comes to home improvement returns. Even a modest 5×8 foot bathroom can feel twice as large with strategic changes that cost less than you’d expect.
Start with vertical storage. Wall-mounted cabinets and floating shelves reclaim floor space while keeping essentials accessible. A recessed medicine cabinet carved into the wall between studs adds storage without protruding into the room. Over-toilet shelving units transform wasted vertical space into practical storage for towels and toiletries.
Fixture upgrades deliver immediate visual impact. Swapping a builder-grade vanity for a wall-mounted version creates the illusion of more floor space and simplifies cleaning. A new faucet costs $80-200 but completely modernizes the sink area. Consider replacing a standard showerhead with a handheld combo unit for $50-150, which adds functionality without requiring plumbing changes.
Lighting transforms small bathrooms dramatically. Replace a single overhead fixture with sconces flanking the mirror to eliminate shadows and make the space feel larger. LED strip lighting under floating vanities creates ambient glow that visually expands the room.
Mirrors are your secret weapon. A large frameless mirror extending to the ceiling reflects light and doubles the perceived space. For rentals, removable mirror tiles achieve similar effects without permanent installation.
Glass shower doors instead of curtains maintain sight lines, making bathrooms feel more open and cohesive.
Living Areas and Bedrooms
Living rooms and bedrooms are where we spend most of our time at home, yet they often become dumping grounds for miscellaneous items. Start by addressing storage gaps. Built-in shelving along empty walls creates both display space and hidden storage with closed cabinets below. Floating shelves above sofas or beds maximize vertical space without overwhelming the room.
For bedrooms, invest in bed frames with integrated drawers, they provide substantial storage equivalent to a small dresser without taking extra floor space. If your budget allows, replace solid closet doors with mirrored ones. This single upgrade makes rooms feel larger while adding functional full-length mirrors.
Lighting transforms these spaces dramatically. Layer your lighting with a combination of overhead fixtures, reading lamps, and accent lighting. Installing dimmer switches costs under $50 per room and instantly creates ambiance for different activities.
Paint remains your most powerful tool. Accent walls behind beds or sofas add visual interest without the commitment of painting entire rooms. Choose deeper tones for cozy bedrooms and lighter shades for living areas you want to feel spacious.
Finally, address cable chaos. Use cable management boxes and adhesive clips to corral cords from entertainment centers and bedside devices. This small organization step makes rooms feel immediately more polished and intentional.
Essential Tools and Skills Every Homeowner Should Master
Starting with the right tools transforms frustration into confidence. Your essential toolkit needs just five items: a cordless drill with multiple bits, a quality tape measure, a level, a stud finder, and an adjustable wrench. These handle 80% of common home improvement tasks, from hanging shelves to assembling furniture to basic plumbing fixes.
Master three fundamental skills first. Learn to patch and paint drywall, because wall repairs become necessary in every home. Practice finding studs and anchoring items securely, since knowing what your walls can support prevents disasters. Understand basic plumbing shutoffs and simple fixes, saving hundreds in emergency calls for minor issues.
The hardest part of DIY work is knowing your limits. This comparison helps you decide which projects suit your current abilities:
| Project Type | DIY Skill Level | Time Investment | Professional Cost Savings |
|---|---|---|---|
| Painting rooms, installing shelves | Beginner | 1-2 days | $200-500 |
| Cabinet hardware, light fixtures | Intermediate | Half day | $150-300 |
| Tile backsplash, fence building | Advanced DIY | 2-4 days | $500-1500 |
| Electrical panels, structural work | Professional only | Not recommended | Safety risk |
Always call professionals for electrical work beyond changing fixtures, anything involving gas lines, structural modifications, and major plumbing repairs. The permit requirements alone signal when expertise matters more than savings.
Build skills gradually through small projects. Replace a faucet before tackling a vanity installation. Paint one accent wall before committing to an entire room. Watch three tutorial videos, then watch a fourth. The confidence you gain from completing simple tasks successfully creates momentum for bigger improvements.
Invest in quality over quantity. One excellent drill beats five mediocre tools. Good equipment lasts decades and makes work easier, while cheap tools break mid-project and test your patience. Start with basics, then add specialized items as specific projects require them.
Creating Your Home Improvement Action Plan
Starting a home improvement project without a solid plan is like renovating with your eyes closed, you’ll waste time, money, and energy. Here’s how to create an action plan that keeps your projects on track and stress-free.
Assess Your Space Honestly
Walk through your home with a notebook and take inventory. What genuinely bothers you every day? A cluttered entryway that swallows keys and mail deserves priority over a rarely-used guest bathroom. Rate each issue on impact (how much it affects daily life) and urgency (is something broken or just outdated?). This exercise reveals which projects deserve your attention first versus which can wait.
Set a Realistic Budget and Timeline
Break your budget into three categories: must-haves (20%), planned improvements (60%), and contingency (20%). That cushion matters, most projects encounter surprise costs. For timelines, add 25% more time than you initially estimate. A weekend paint job that seems simple becomes a three-day affair once you factor in prep work, drying time, and touch-ups.
Prioritize by Impact and Dependency
Tackle projects in logical order. Painting before installing new flooring prevents paint splatters on expensive surfaces. Address structural or functional issues before aesthetic upgrades, fix that leaky pipe before choosing new bathroom tiles. Group similar tasks together to maximize efficiency and reduce contractor visits. If you’re painting three rooms, do them consecutively rather than spacing them months apart.
Break Large Projects into Phases
A full kitchen renovation overwhelms, but breaking it into phases makes it manageable. Phase one might tackle organization and decluttering, phase two handles painting and hardware updates, phase three addresses larger upgrades like countertops. This approach spreads costs over time and lets you live with changes before committing to bigger investments.
Track Progress and Adjust
Create a simple spreadsheet or use a project management app to monitor spending, completion dates, and lessons learned. When something takes longer or costs more than expected, adjust future estimates accordingly. This running record becomes invaluable for future projects and helps you spot patterns, maybe you consistently underestimate prep time or overestimate your weekend availability.
Review your plan monthly. Priorities shift, budgets change, and new issues emerge. Flexibility transforms a rigid checklist into a living document that evolves with your home’s needs.
Common Home Improvement Mistakes (and How to Avoid Them)
Even experienced DIYers fall into predictable traps that turn straightforward improvements into expensive do-overs. Understanding these common mistakes, shared by countless homeowners in our community, can save you time, money, and frustration.
The biggest pitfall? Starting demolition before you’ve fully planned the project. Tearing out cabinets or knocking down walls feels productive, but without confirmed measurements, ordered materials, and a clear timeline, you’re setting yourself up for weeks of living in construction chaos. Always measure twice (or three times), order your materials with buffer time for delays, and have a realistic completion plan before you touch that sledgehammer.
The most preventable mistake we see is homeowners not accounting for the hidden costs, permits, unexpected structural issues, and the domino effect where fixing one thing reveals three more problems that need attention.
Skipping proper prep work ranks as another costly error. Painting over dirty walls, installing tile on an uneven surface, or organizing a space without decluttering first creates problems that surface immediately or within months. Surface preparation isn’t the exciting part, but it determines whether your improvement lasts two years or twenty.
Many homeowners also underestimate project timelines by half or more. That “weekend bathroom refresh” often stretches into two weeks once you account for drying time, multiple coats, unexpected complications, and the reality that you still need to sleep and work. Build in buffer time, especially for projects that affect daily-use spaces like kitchens and bathrooms.
Finally, mixing too many styles or trends in one space creates visual chaos rather than cohesion. Choose a clear direction, whether modern farmhouse, minimalist, or eclectic, and let that guide your material choices, colors, and finishes. Your home should feel intentional, not like a showroom where every display vignette ended up in the same room.
Home improvement doesn’t have to be complicated, expensive, or intimidating. The strategies we’ve explored show that meaningful transformation happens through thoughtful planning, smart prioritization, and taking that first step forward. Whether you’re refreshing a single room or tackling a whole-house renovation, the path to a better living space starts with deciding what matters most to you.
Your home is uniquely yours, and the improvements that work best reflect your lifestyle, budget, and goals. Start small if you need to. A weekend paint project or reorganized closet builds both momentum and confidence. Those early wins often spark bigger ideas and prove you’re more capable than you might have thought.
Remember that every beautiful home you admire started with someone standing exactly where you are now, wondering where to begin. The difference between dreaming about improvements and living in a transformed space is simply getting started.
We’d love to see what you’re working on. Share your before-and-after photos, ask questions about projects you’re considering, or tell us about improvements that exceeded your expectations. Our community thrives on real experiences from real homeowners, and your insights might be exactly what another reader needs to take action.
Pick one project from your action plan this week. Measure that space, price those materials, or move that furniture. Small actions create big changes, and your improved home is waiting for you to begin.
Comment here